Thursday, May 29, 2014

Cacao No-Bake Cookies

     These cookies are a delicious and healthy way to satisfy that sweet tooth that demands attention on occasion! Sweetened with pure maple syrup, one of the better choices as far as sweeteners go, these cookies also have the added health benefits from cacao, which has been shown to fight free radicals (cancer-causing cells) among other things. A Cancer-fighting cookie? Can't beat that!


Cacao No-Bake Cookies

Ingredients:

⅔ C maple syrup
¼ C Coconut oil
5 TB Cacao powder (Cocoa works too)
1 tsp Cinnamon
½ C unsweetened Almond Butter or peanut butter
1 C rolled oats
1 tsp Vanilla
¼ C Unsweetened Coconut (optional)


Directions:

Combine maple syrup, oil, cacao, and cinnamon, and heat over medium heat. Boil for 3 minutes, stirring constantly. Remove from heat and stir in almond butter, oats, vanilla, and coconut until well blended. Drop by spoonfuls on wax paper. Chill for 30 minutes.


Pin It!

Sauerkraut

Sauerkraut....the word might bring up feelings of nostalgia, excitement, or even fear for you. But for me, it brings PASSION.  Sauerkraut is one of the first foods I learned to ferment, and it is still one of my favorite fermented foods, and one of the most healthy foods I have ever made. There are numerous health benefits of sauerkraut, which you can easily read about with a quick internet search. The main benefit being the digestion-promoting lactobacilli that it contains. This is the "good bacteria" that your body needs to digest food properly. Also, more than 70% of our immune system is contained in our digestive tract, another reason to keep your digestion moving and flowing with ease. Which is what this simple dish does. Added to each meal, this food will give you a boost in energy, help digest your meal, and add a richness of flavor you will learn to love.

So, what is sauerkraut? Nothing but cabbage and salt, left on your counter for a few days. Easy, right? Right. Really. If you're new to fermenting, this is the ideal place to start.


Traditional Sauerkraut


Adapted from Nourishing Traditions

Makes 1 quart

Ingredients:

1 medium cabbage, cored and shredded
1 Tbsp sea salt
1 Tbsp caraway seeds (optional)
4 Tbsp whey (or another 1 TBSP salt)

Directions:

In a bowl, mix cabbage with caraway seeds, sea salt and whey. Pound with a wooden pounder or a meat hammer for 5 minutes to release juices. Let sit for 5 minutes, then pound 5 more minutes. (Or let it sit for 15 minutes without any pounding.) Place in a quart-sized, wide-mouth mason jar and press down firmly with a pounder until juices come to the top of the cabbage. The top of the cabbage should be at least 1 inch below the top of the jar. Cover and keep at room temperature for about 3 days then transfer to cold storage. The sauerkraut may be eaten immediately, but it improves with age.
Pin It!

Wednesday, May 29, 2013

Lemongrass Chicken


We got this delicious recipe from our friend who's parents own a Thai restaurant. He was in the kitchen of the restaurant experimenting one day and came up with this delicious concoction. It is now one of our weekly favorites! It is super simple and amazingly flavorful. You start out with a basic Pad Thai sauce - buy a jar or make your own - it's so easy! The recipe is included below.  All it takes is one trip to the Oriental market for Tamarind paste and fish sauce if you don't have any on hand. And don't worry, they will keep for a long time in your fridge, so don't be afraid to make this one-time purchase. Add some fresh ginger, lemongrass, coconut milk, nuts, and voila! A super easy, delicious, Thai dinner at home. :)


Lemongrass Chicken
Serves 4

1 jar pad thai sauce (or homemade - recipe below)
1-2 lbs chicken breast or thighs cut in thin strips or chunks
1 stalk of lemongrass (or 3 drops lemongrass essential oil)
1 inch or so of a ginger root (or 2 drops ginger essential oil)
1/4 C coconut milk
1/2 C almonds or cashews
red pepper flakes - optional to add some heat
jasmine rice cooked

Cut the lemongrass into 1-1.5 inch pieces. Peel the ginger root and slice thinly.


 Heat some coconut oil over med heat and add chicken. Then add the pad thai sauce and coconut milk and stir. Next add lemongrass, ginger and almonds.


 Stir frequently to get the flavors blended.


 Serve over jasmine rice and Voila!


 Pad Thai Sauce

1- 1.5 TBSP tamarind paste
1/4 C chicken stock
3 TBSP fish sauce
1 TBSP soy sauce (I always use "Bragg Liquid Aminos" which is basically soy sauce but way healthier and non-GMO...soy is one of the most GMO'd ingredients.)
1/8 tsp cayenne pepper or chili sauce
3-4 TBSP brown sugar (I substituted some of it with honey)


Mix it all together in a bowl. I doubled it and saved half for the next time I make this dinner (which, like I said is every week). Or you can just use more and have more sauce. It's not as thick as the bottled sauce, so you could add some rice flour to thicken it up too if you want.


Pin It!

Wednesday, February 13, 2013

Sour Cream Chicken: Re-Invented!

This meal has been one of my top favorites for several decades now. I would commonly request it for my birthday dinner growing up. It's hard to beat that cheesy, sour cream-y sauce. But guess what folks: this meal just got even better. Sub out the normal cream of chicken soup and replace it with a delicious homemade version, and voila! This amazing meal becomes out of this world! (And much healthier!)


Sour Cream Chicken

*Serves 4.

Ingredients

4 boneless skinless free range chicken breasts
2½ cups free range chicken broth
1½ cups rice milk (or almond milk)
¾ cup rice flour
1 tablespoon seasoning mix (or on your own, ½ tsp. onion powder, ½ tsp. garlic powder, ½ tsp. black pepper, 1 tsp. salt, ½ tsp. parsley, etc)
1 cup sour cream
1 cup cheddar cheese 
paprika

Directions  
 
1. Make your cream of chicken soup. Combine the chicken broth and ½ cup of the milk in a large saucepan. Bring to a low boil. Meanwhile, in a small bowl, whisk the flour and seasonings into the remaining 1 cup milk until a smooth, thick mixture forms. Pour the flour and milk mixture into the saucepan with the broth mixture over low heat and stir continuously, whisking as the mixture simmers. Continue to simmer and stir/whisk until the mixture is smooth and thick, 5-10 minutes. The mixture will thicken a bit as it cools.

2. Preheat oven to 350 degrees. Place the chicken breasts in a glass baking dish.

3. Combine the mixture with the sour cream and cheese.  Pour creamy mixture over the chicken evenly until it is completely covered. Sprinkle with paprika. Bake for 30 min. Serve over rice.

Enjoy! :)


Pin It!

Homemade Cream of Chicken Soup

Ever wanted to make your own Cream of Chicken soup? Well today is your lucky day! Let's face it, those cans of cream of chicken soup are chuck full of MSG, sodium, and tons of other preservatives and additives that are less than good for you. They're harmful to your body. But I have great news for you today. It's so easy to make your own! Plus, you probably already have all of the ingredients in your kitchen right now! And this soup tastes really fresh and amazing. You'll love it in all of your favorite recipes!


Homemade Cream of Chicken Soup
(Adapted from Pinch of Yum)

*Makes the equivalent of about 2 cans of condensed cream of chicken soup. 

Ingredients:

2½ cups free range chicken broth
1½ cups rice milk (or almond milk)
¾ cup rice flour
1 tablespoon seasoning mix (or on your own, ½ tsp. onion powder, ½ tsp. garlic powder, ½ tsp. black pepper, 1 tsp. salt, ½ tsp. parsley, etc)
  
Directions:

1. Combine the chicken broth and ½ cup of the milk in a large saucepan. Bring to a low boil.
2. Meanwhile, in a small bowl, whisk the flour and seasonings into the remaining 1 cup milk until a smooth, thick mixture forms.
3. Pour the flour and milk mixture into the saucepan with the broth mixture over low heat and stir continuously, whisking as the mixture simmers. Continue to simmer and stir/whisk until the mixture is smooth and thick, 5-10 minutes. The mixture will thicken a bit as it cools.

*Try it in this delicious recipe for Sour Cream Chicken!


Pin It!

Monday, February 11, 2013

Hawaiian Haystacks - A Real Food Version

I loved Hawaiian Haystacks growing up. Although there are a lot of healthy elements of this dish, there are also the ones that are fake "foods" that I wanted to do without. Normally the chicken sauce is made with some variation of a cream of ______ (fill in the blank) soup, sour cream, and milk. But since these soups are filled with preservatives, additives, sugar, GMO ingredients and who knows what else, I have opted to leave them out of my diet and go for a more healthy version. So here is a new take on an old classic. And let me tell you, this sauce is amazing! (This version is dairy-free, gluten-free)


Hawaiian Haystacks

(Recipe adapted from Mel's Kitchen Cafe)

*Makes about 4 cups chicken sauce (enough to serve 4-6 for Hawaiian Haystacks)


Ingredients:

2 boneless, skinless chicken breasts, cut into bite-size chunks (or leftover cooked chicken, cubed)
3 tablespoons coconut oil
½ onion (about ½ cup), finely chopped
3 cloves garlic; finely minced
1 teaspoon salt
½ teaspoon pepper
¼ cup rice flour
2 cups rice or almond milk
1 cup free-range chicken broth

Directions:

In a large skillet melt the coconut oil over medium heat and add the onion and raw chicken (if using leftover cooked chicken, don’t add it to the skillet now, you’ll add it later). Saute the onion and chicken, if using, until the onions are soft and translucent and the chicken is cooked through, about 5 to 6 minutes. Add the garlic and cook for about one minute, stirring, until fragrant.

Sprinkle the flour over the onions and chicken and stir to combine. Cook over medium heat for one minute – this helps get rid of the starchy, flour taste. Slowly whisk in the milk and chicken broth. Cook, stirring constantly with a whisk, and bring the sauce to a simmer over medium to medium-high heat. Add the salt and pepper. If you are using leftover cooked chicken, add it now. Continue simmering, stirring the sauce frequently, until the sauce has thickened, about 5-8 minutes.

Serve the chicken sauce over rice with your toppings of choice, such as olives, tomatoes, shredded sharp cheddar cheese, green onions, mandarin oranges, pineapples, chopped almonds, and chow mein noodles.


Pin It!

Monday, January 28, 2013

Salsa Chicken Salad

This is one of our favorite meals. I make it at least once a week. It is so easy, so delicious, and super healthy! There are a few special elements to this salad that make it different than your average taco salad. Keep reading to find out!


First of all, the chicken. Try to get free range chicken with no antibiotics or added hormones. (Simple Truth brand from Smith's or Harvestland from Walmart) However, there is no way to guarantee what the conditions are of the chicken unless you personally see how they are raised. This is why it's a great idea to buy your meat from a local farm that you trust. If you are in Utah, utahnaturalmeat.com is a great option. If not, check out eatwild.com for a list of local farms in your area that raise all-natural, grass-fed, pastured beef and free-range chicken and eggs with no added antibiotics or hormones.

The next item that is different in this salad is the tortilla chips. If you're like us, you love to eat tortilla chips. They seem like they should be a relatively healthy snack, but the problem is, if you've read my posts about GMOs, you know that corn is one of the most commonly genetically modified foods. However, blue and white corn have not yet been genetically modified, so it is safer to get either blue or white corn tortilla chips. However, even if the corn is not GMO, it's still possible that the oil used in the chips is. So, your safest bet is to get some chips that are certified non-GMO like these from Garden of Eatin. I get these at Smith's or Macey's.

Another element that makes this salad different, and oh-so-much better than the average taco salad is the homemade ranch dressing.  Combining your own homemade ranch seasoning mix (recipe here) with Vegenaise instead of Mayonaise (mayo is mostly made up of soybean oil - GMO!!)  is a much healthier, and much tastier alternative to regular ol' ranch dressing. I get the Vegenaise made with Grapeseed oil, which is really good for you. There are other versions as well. Currently this is not sold in any regular grocery stores I shop at, so I pick up a few jars each time I go to Good Earth health food store.
Now for the recipe.


Salsa Chicken Salad
Serves 4-6

Ingredients


1-2 lbs boneless skinless chicken breasts
1-2 cups  salsa (choose a brand without added preservatives or sugar, or use homemade!)
1 tsp homemade taco seasoning
juice of 1 lime
3 cups cooked brown rice (can add onions, lime juice, cilantro and chicken broth for extra tasty rice)
non-GMO tortilla chips
1 can black beans
lettuce
tomatoes
avacado
hemp seeds
cilantro
Homemade Ranch Dressing (Recipe below)   

Directions 


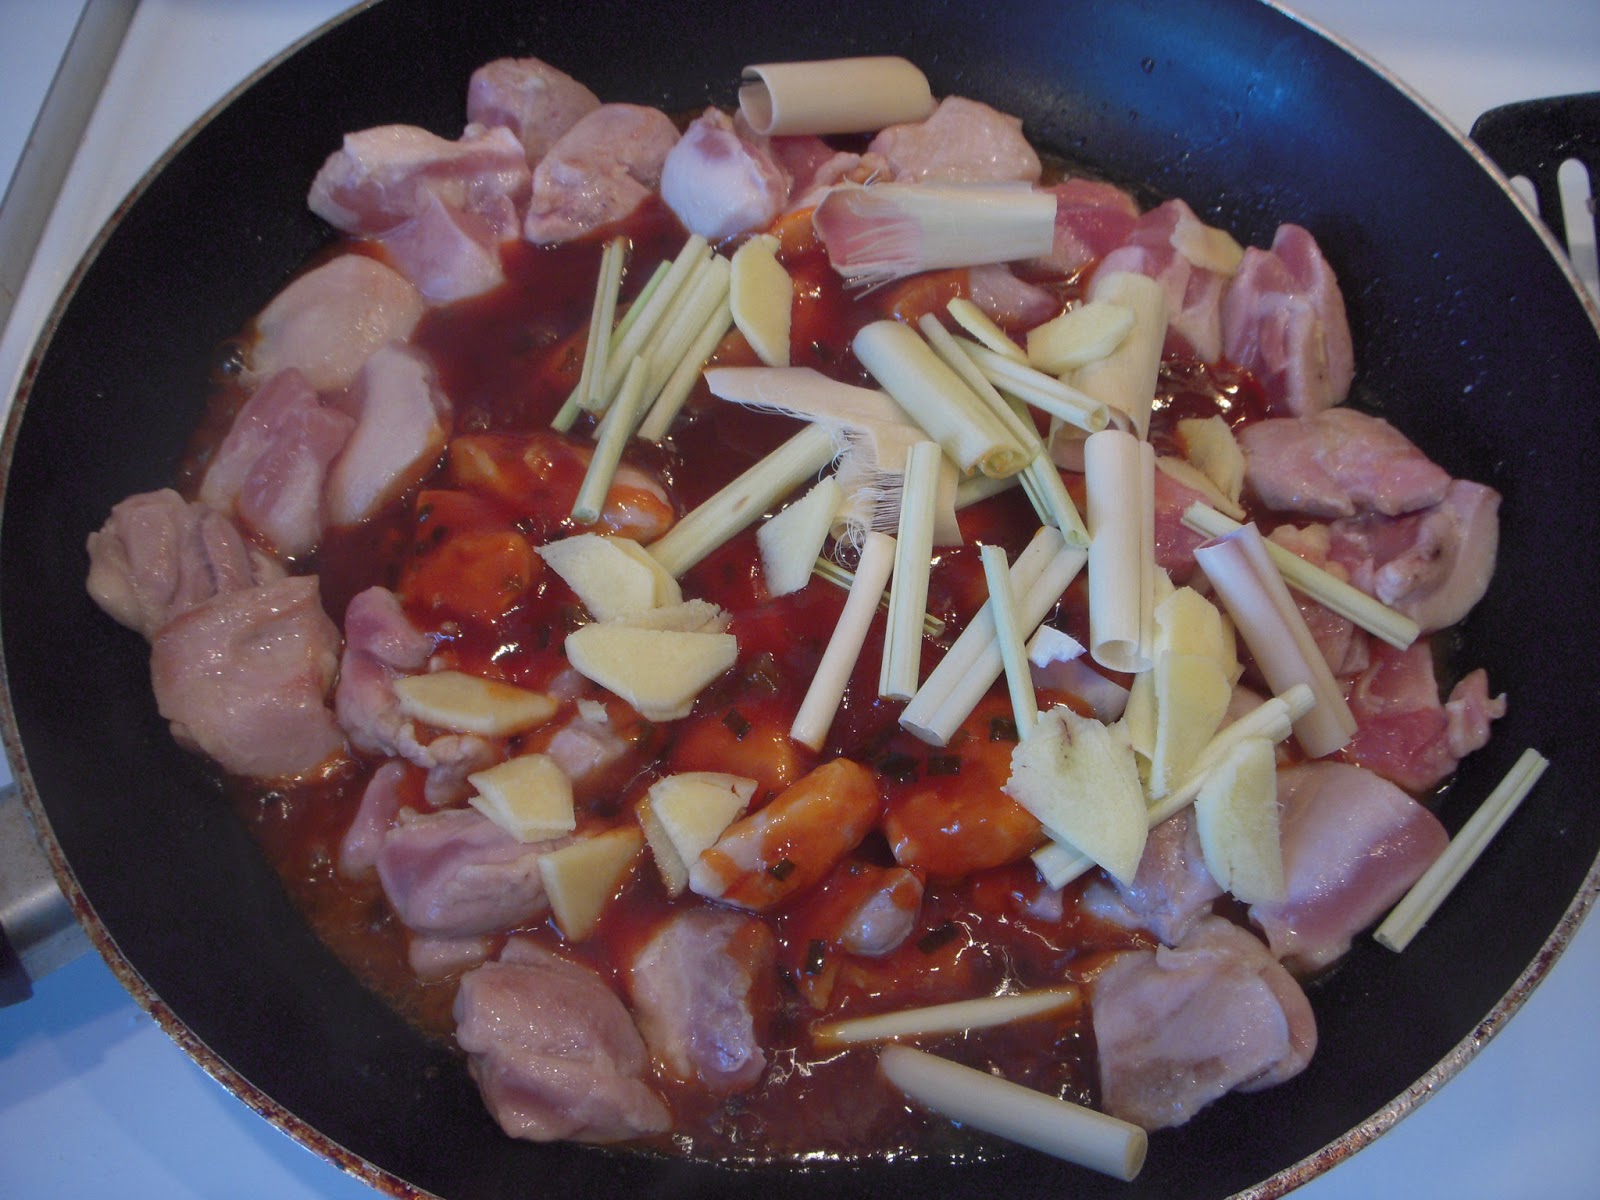
Place chicken in a slow cooker and season with salt. Pour salsa over chicken and make sure chicken is completely covered. Add taco seasoning and lime juice and stir into the salsa. Cover and cook on high 3-4 hours or on low for 8 hours. Shred chicken with 2 forks. Place chips on a plate. Add rice, beans, and chicken on top of the chips. Then add lettuce and other toppings.

Homemade Ranch Dressing


1 cup Vegenaise
1/2 cup rice milk
1 Tbsp homemade ranch seasoning

Pour milk into a glass jar that has a tight lid. Add Vegenaise and seasoning. Shake until well blended.
Pin It!